File & image inputs
Workflows don’t only take text. An Input node can declare an image or a file
parameter, and the run dialog turns it into an upload box. Images feed vision models (and
Python, if you want); files feed Python. Everything is uploaded at run time — and for
Python, Catalyst stages the upload onto disk at ./inputs/<param>.<ext> — the extension follows
the upload, so glob it rather than hardcoding it — and your code reads it straight off the
filesystem. This page walks through both, building on the
Build your first workflow tutorial.
Give a workflow an image to look at
Section titled “Give a workflow an image to look at”Workflows can take a picture as input and hand it to a vision model. Two pieces make this
work: an image parameter on the Input node (the run dialog turns it into a file picker),
and an Images field on the LLM node (which attaches the picture to the model as vision
content — the only way to make the model actually see it, rather than read a URL). Here’s the
whole thing: a 3-node Input → LLM → Output workflow called Image Describe that takes a
photo and returns a one-line description.
-
Add an Input node with an
imageparameter. Drag Input on, open Properties, add a parameter namedphoto, and set its type toimage. That type is what turns the run prompt into an upload box.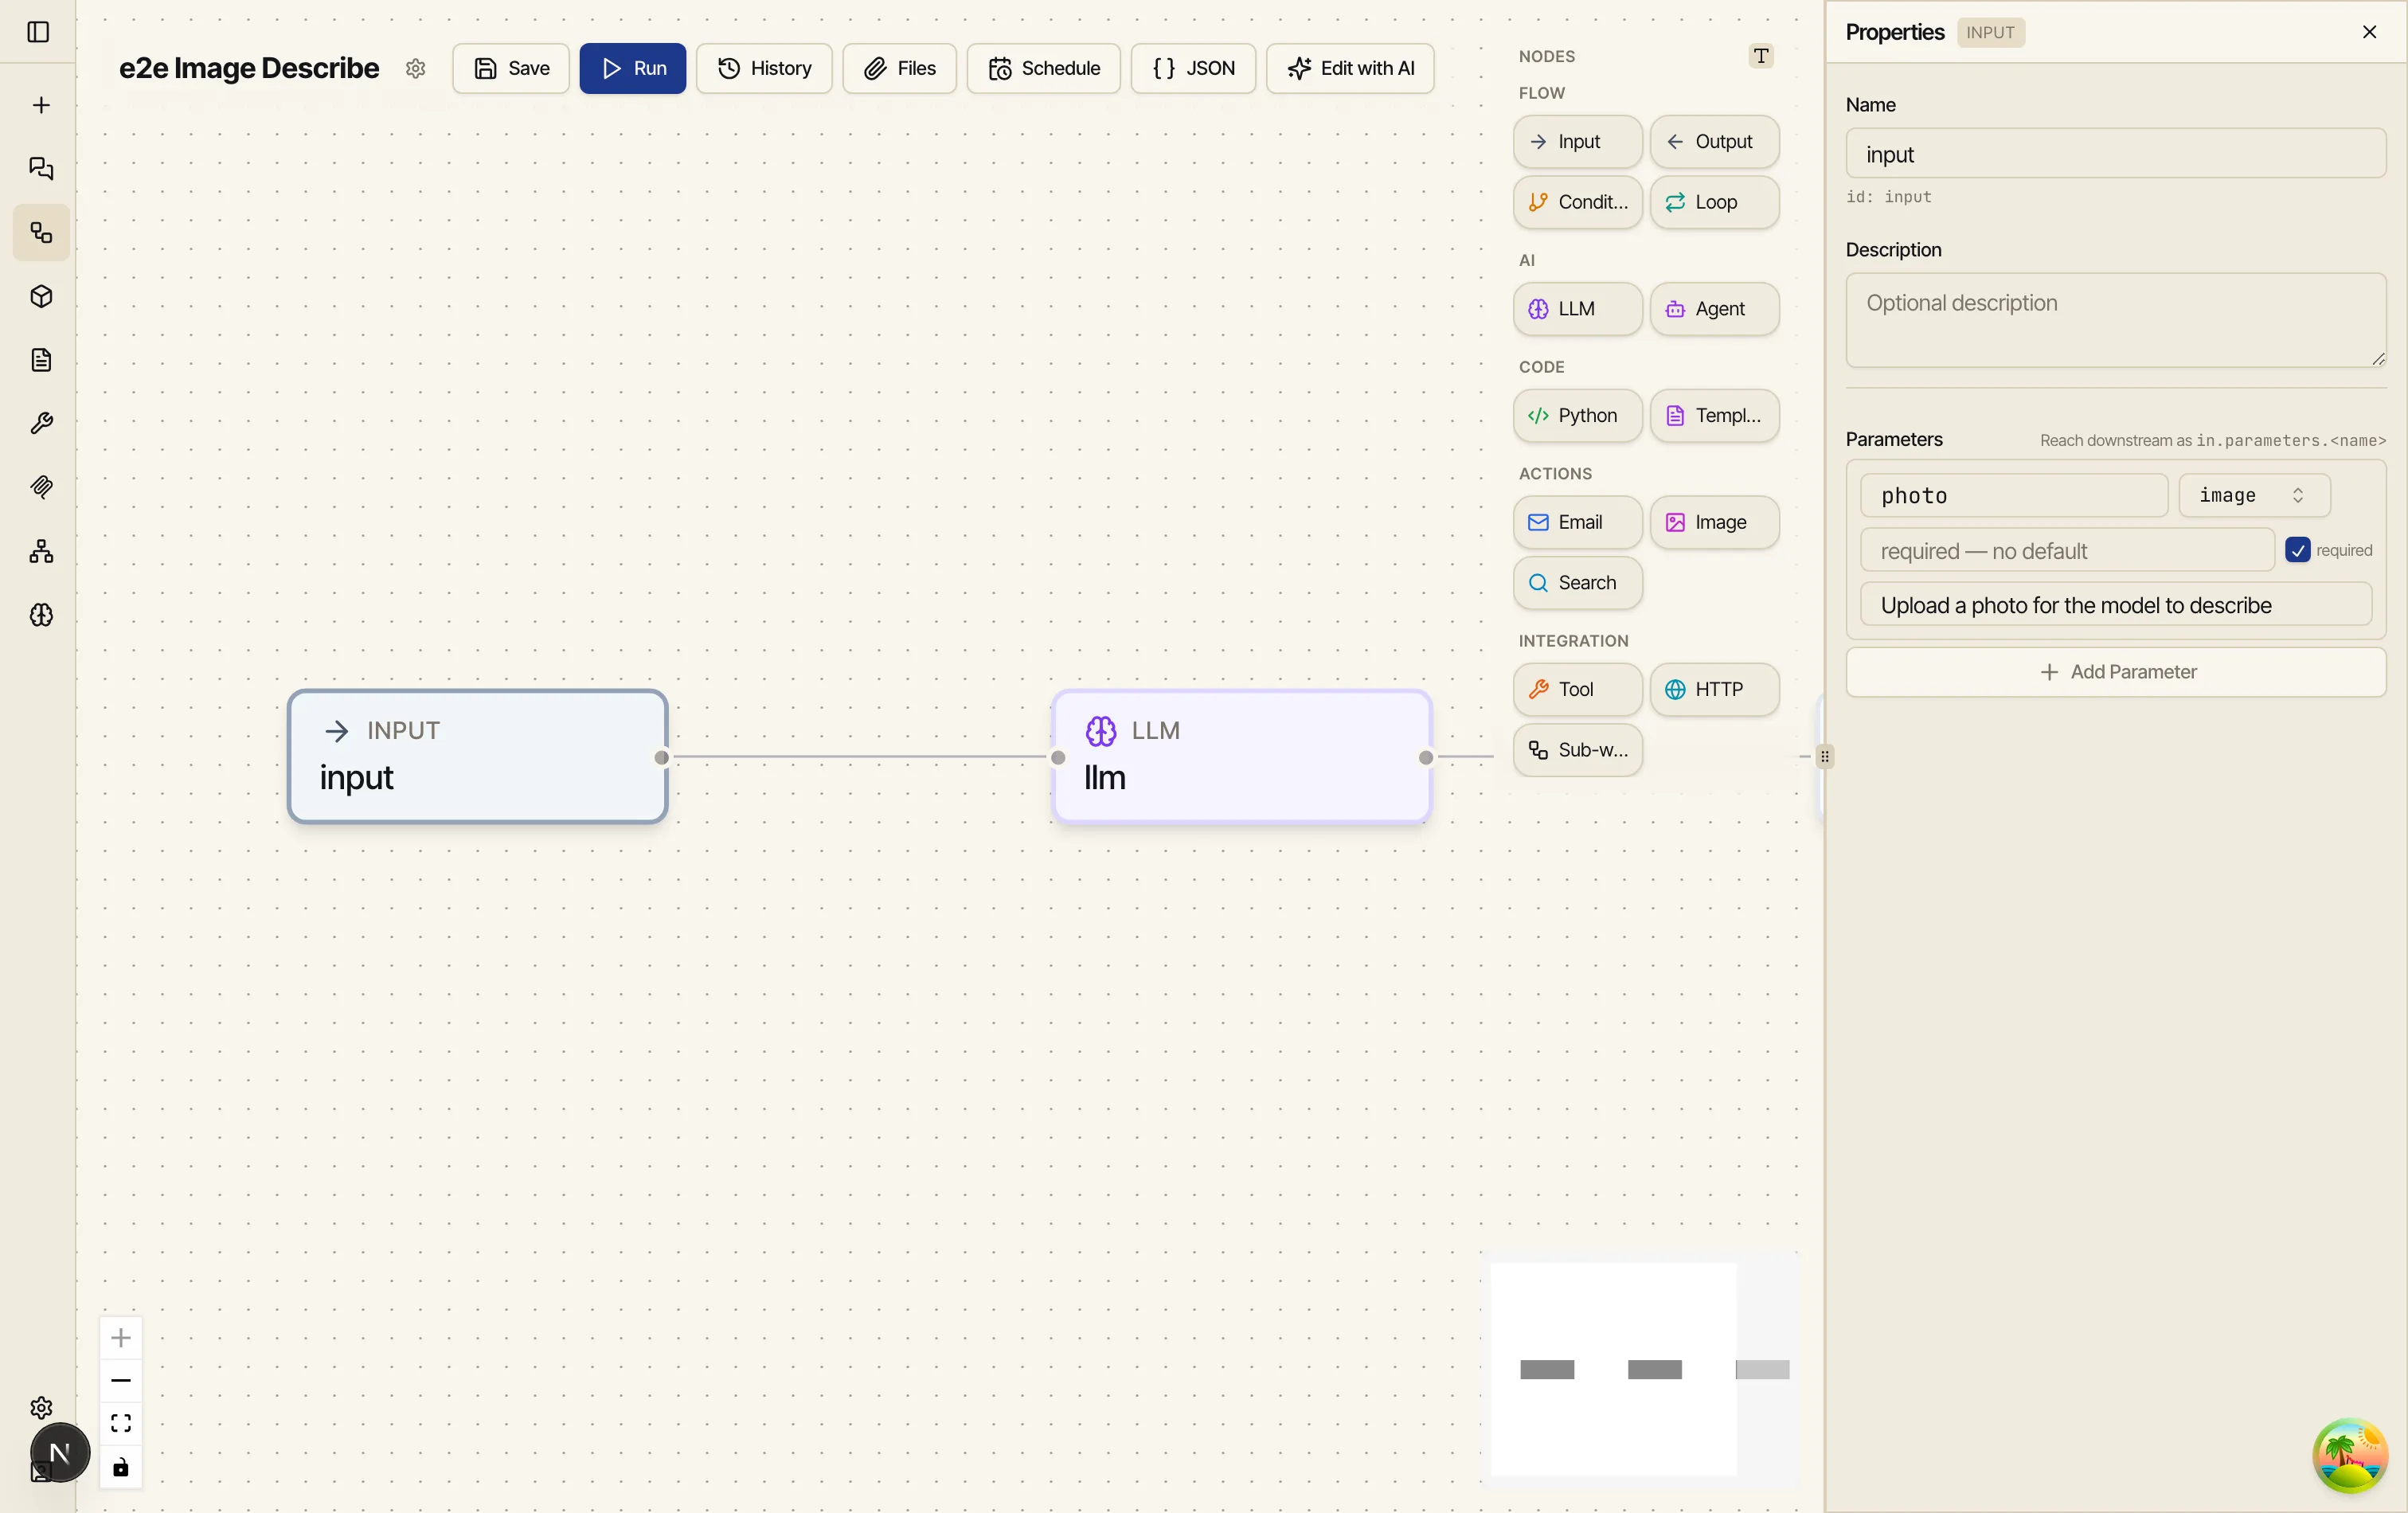
-
Add an LLM node and fill in its Images field. Drag LLM on and pick a vision-capable model (here,
claude-sonnet-4-6). On the Prompt tab, write:Describe this image in one vivid sentence.Then open the Images tab and add a reference to the uploaded photo with Add image:
{{ input.parameters.photo }}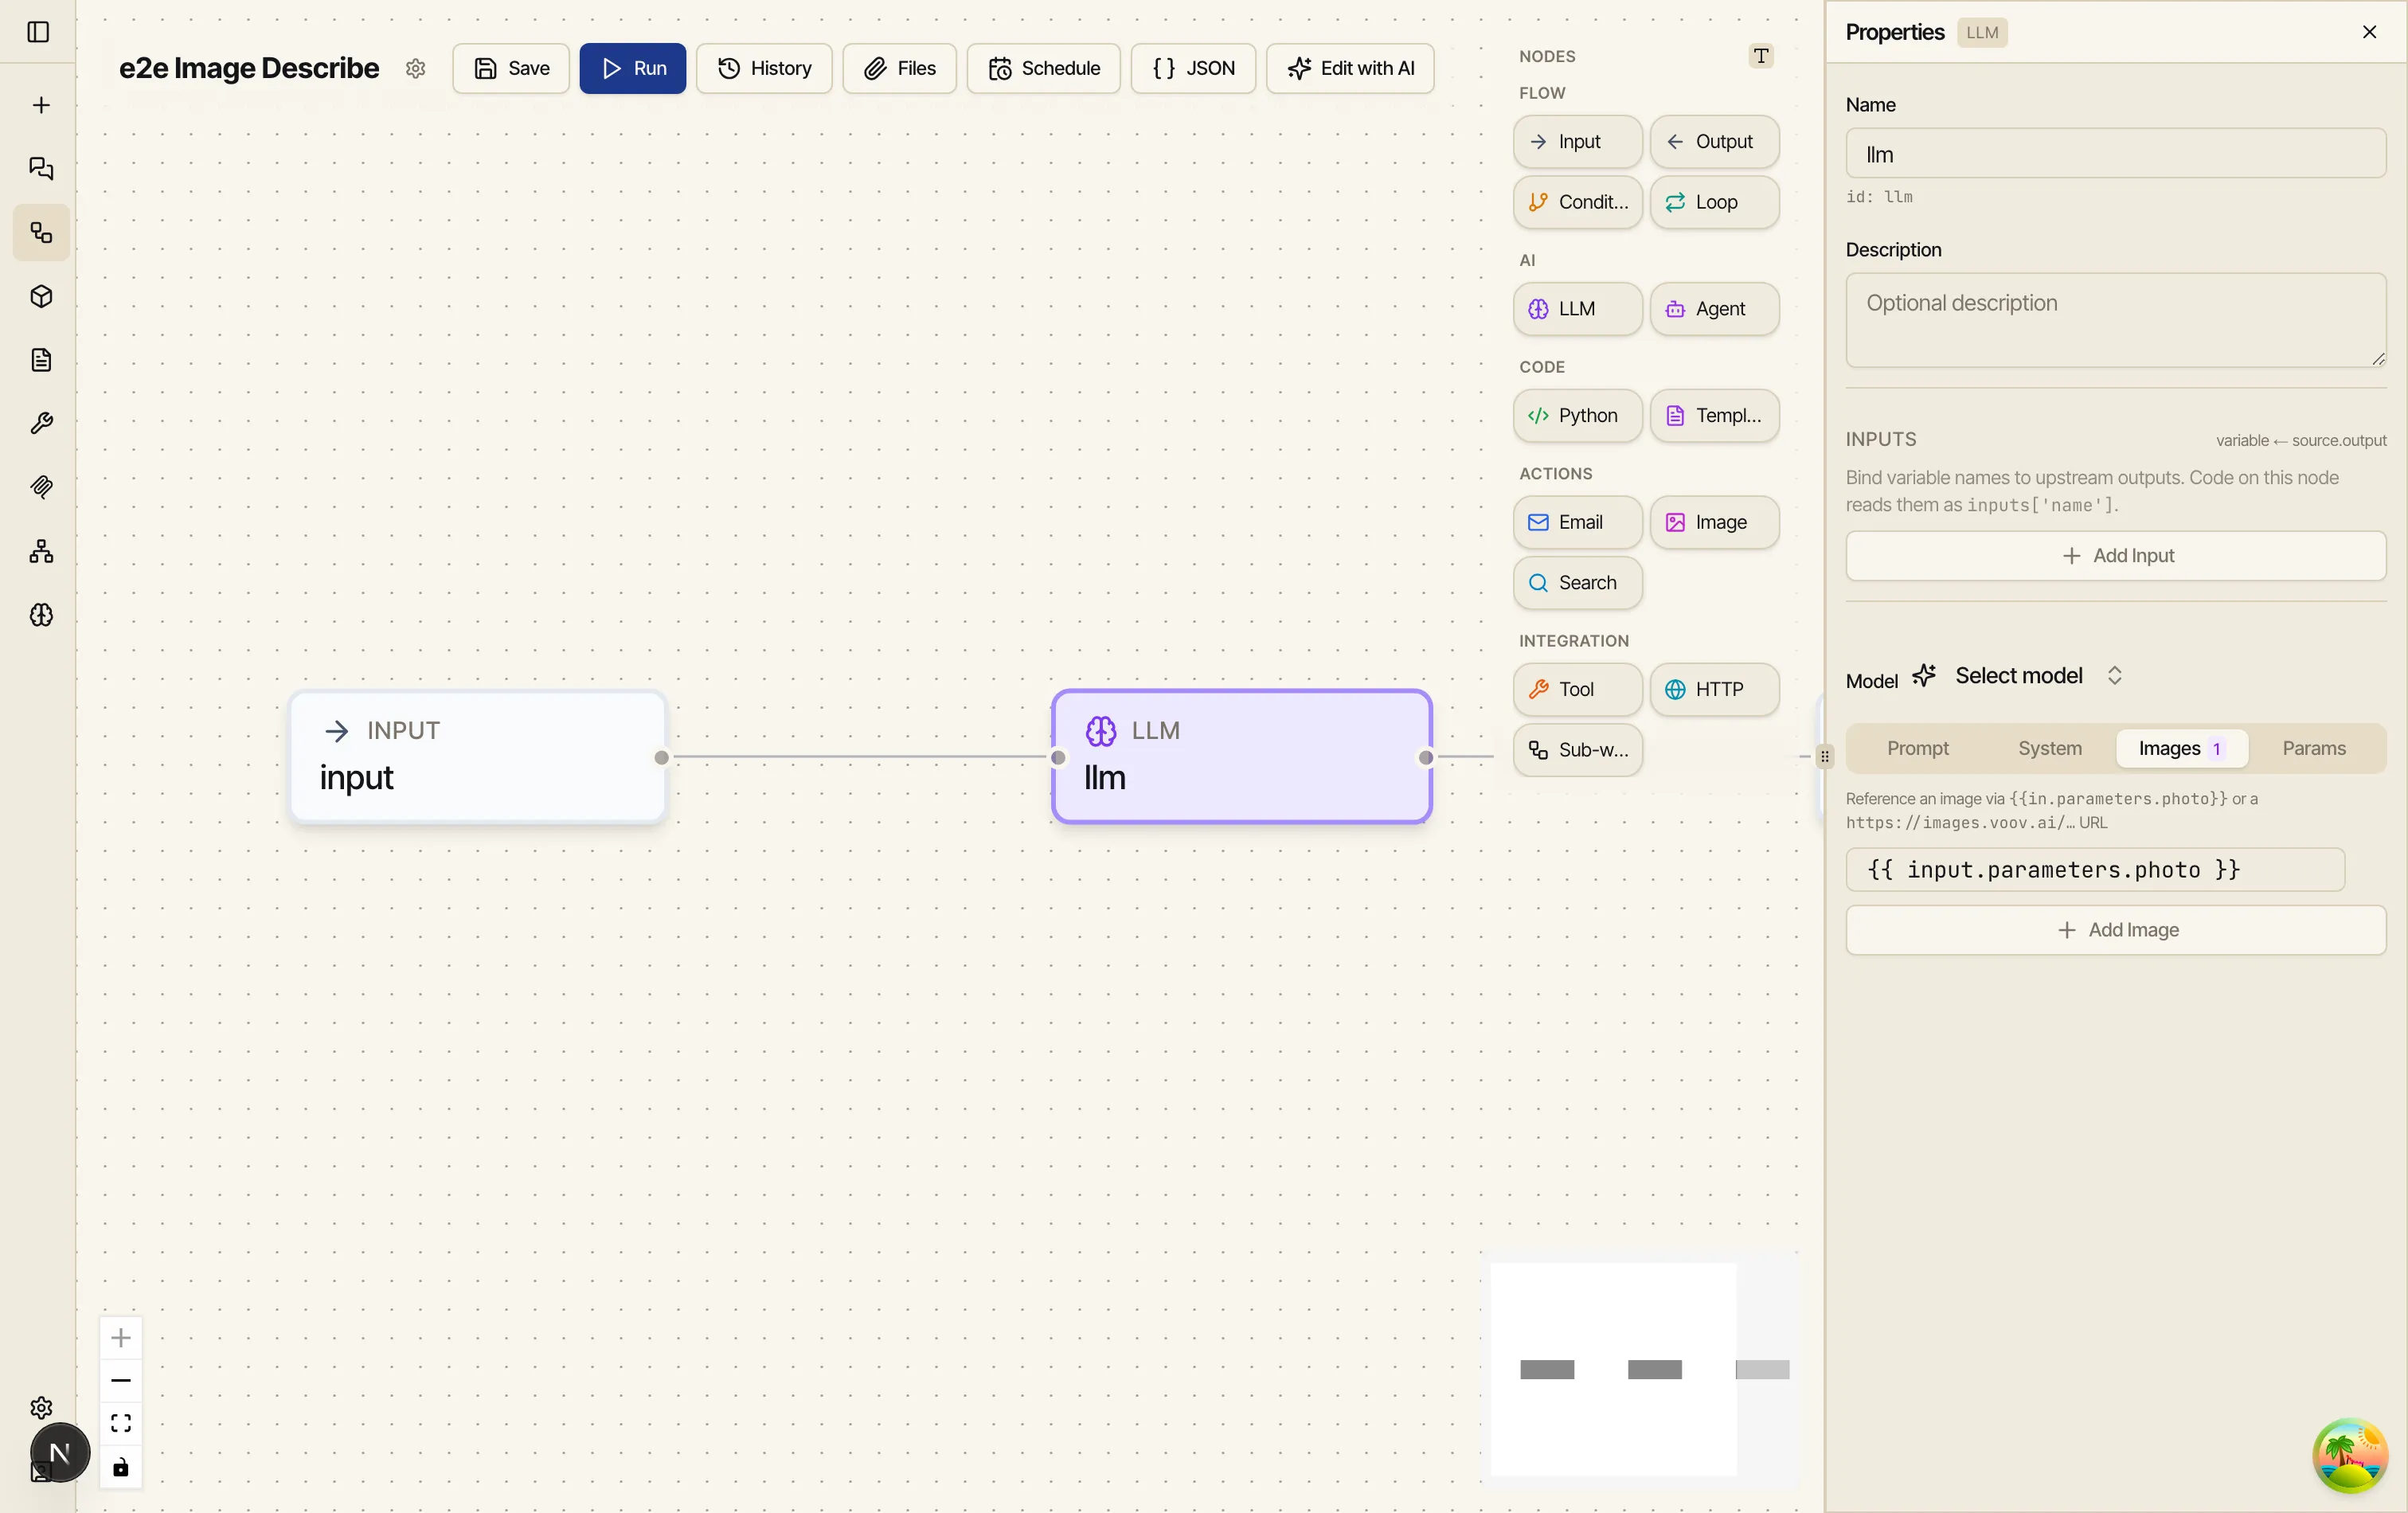
The model must be vision-capable for it to truly see the picture. If you point this at a text-only model, Catalyst doesn’t error — it falls back to appending the image URL to the prompt as text, which the model can’t actually look at.
-
Add an Output node. Map a single field —
description→{{ llm.text }}— so the run returns the model’s sentence. Connect the nodes input → llm → output.
Now run it:
-
Click Run. Because the workflow declares an
imageparameter, the Workflow Parameters dialog shows a Choose image button instead of a text field.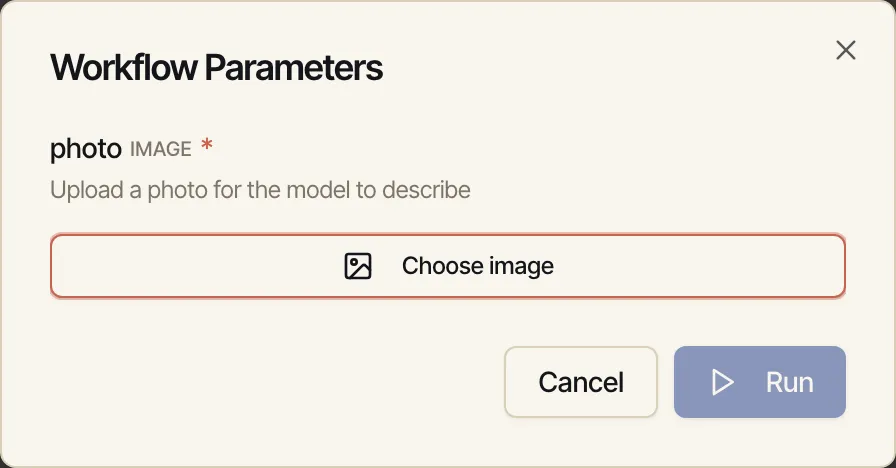
-
Pick a picture. It uploads to Catalyst’s image hosting (a normal
https://images.voov.ai/…URL — no base64 to deal with), shows a thumbnail with Replace, and enables Run.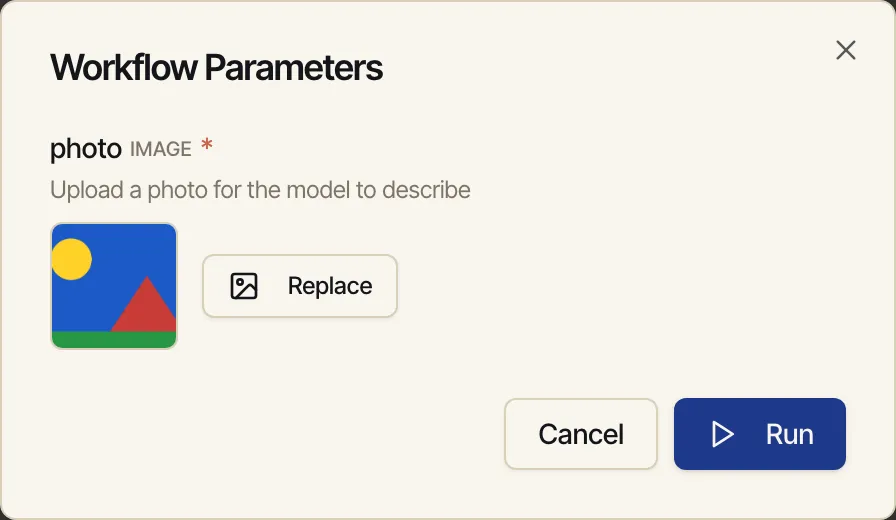
-
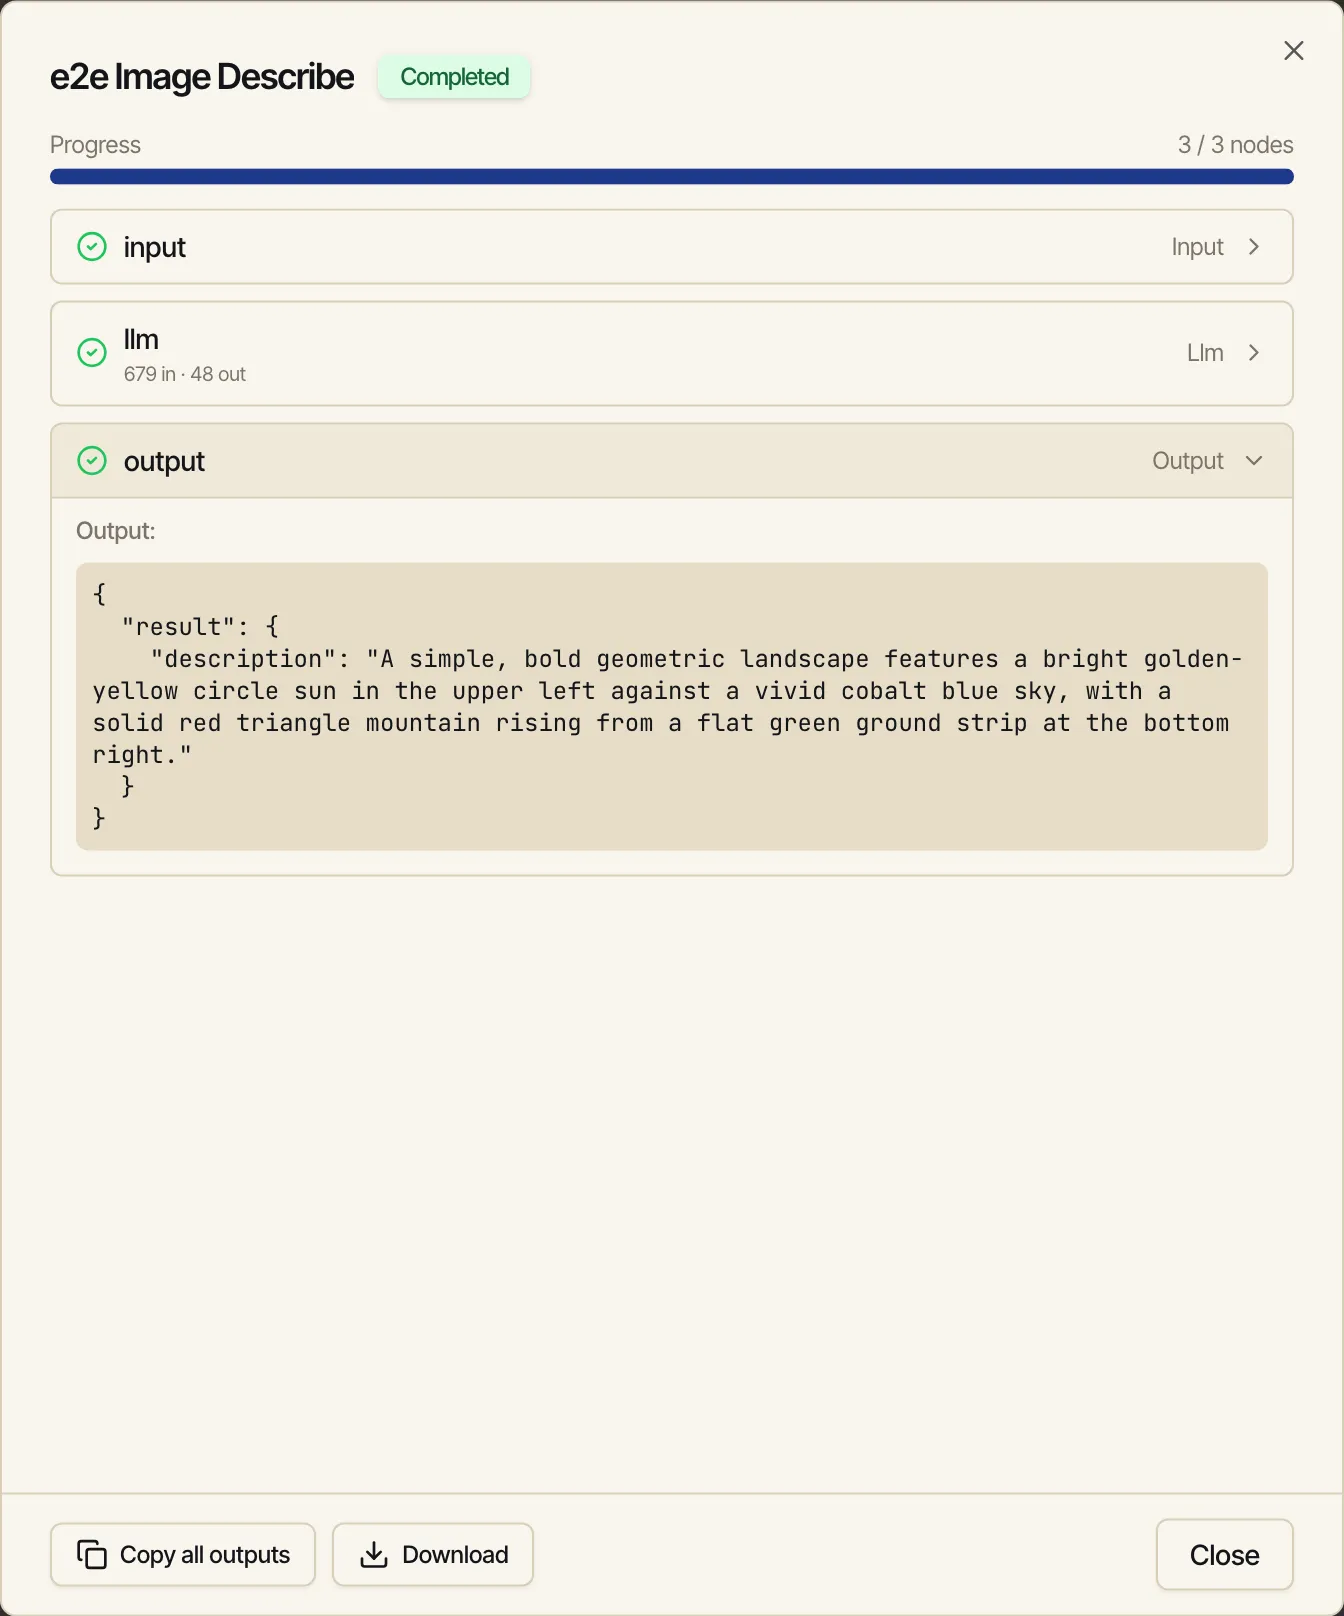
Click Run. The model looks at the photo and the output node returns its description. For the example image, it returned:
A simple, bold geometric landscape features a bright golden-yellow circle sun in the upper left against a vivid cobalt blue sky, with a solid red triangle mountain rising from a flat green ground strip at the bottom right.
Hand a file to a Python node
Section titled “Hand a file to a Python node”The image example above pairs with this one. A workflow can take any file as input — a CSV,
a spreadsheet, a PDF, a JSON dump — through a file parameter on the Input node. The run
dialog turns it into a file picker (one file, any type), uploads what you choose, and sets the
parameter’s value to the uploaded file’s URL.
The convenient part for code: when a run has an image or file parameter, Catalyst also
stages the uploaded file onto disk in the Python sandbox at ./inputs/<param-name>.<ext>,
where the extension follows the upload (so glob it rather than hardcoding it) — the same
read-only ./inputs/ folder that holds attached files.
So a Python node reads it straight off disk, no download. Here’s a tiny Input → Python
(pandas) → Output workflow that takes a sales CSV and summarises it.
-
Add an Input node with a
fileparameter. Drag Input on, open Properties, add a parameter namedsales, and set its type tofile. -
Read it in Python. Because the param is named
sales, it’s staged at./inputs/sales.<ext>— the extension follows whatever you upload, so glob it rather than hardcoding.csv. Drag a Python node on and read it directly:import globimport pandas as pd# A `file` (or `image`) input parameter is staged read-only at ./inputs/<name>.<ext>.# The extension follows the upload, so glob it instead of hardcoding it.path = glob.glob("./inputs/sales.*")[0]df = pd.read_csv(path)result = {"rows": len(df),"columns": list(df.columns),"total_revenue": int(df["revenue"].sum()),}No upstream
{{ }}reference is needed to reach the file — the parameter name is the filename stem. (You can still read the URL as{{ input.parameters.sales }}if another node or tool needs it.) -
Map the outputs. Point an Output node at
{{ python.result.rows }},{{ python.result.columns }}, and{{ python.result.total_revenue }}. Connect the nodes input → python → output.
Now run it:
-
Click Run. Because the workflow declares a
fileparameter, the Workflow Parameters dialog shows a Choose file button instead of a text field.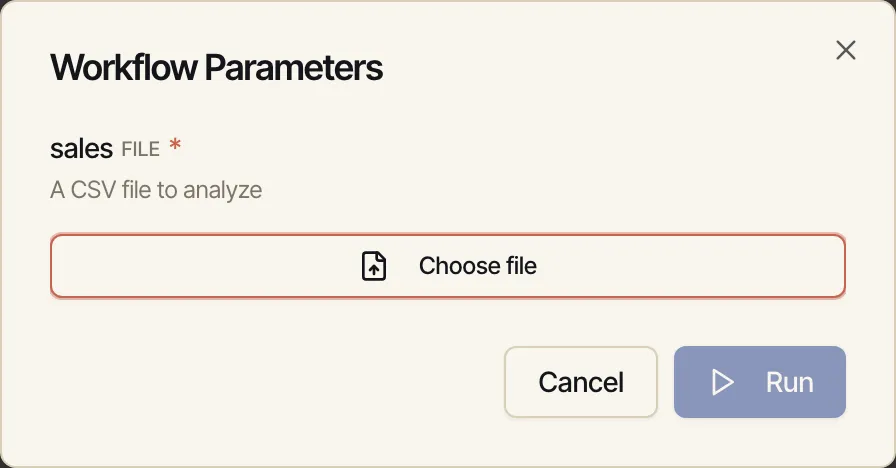
-
Pick your CSV. It uploads, shows a filename chip (
sales.csv) with Replace, and enables Run.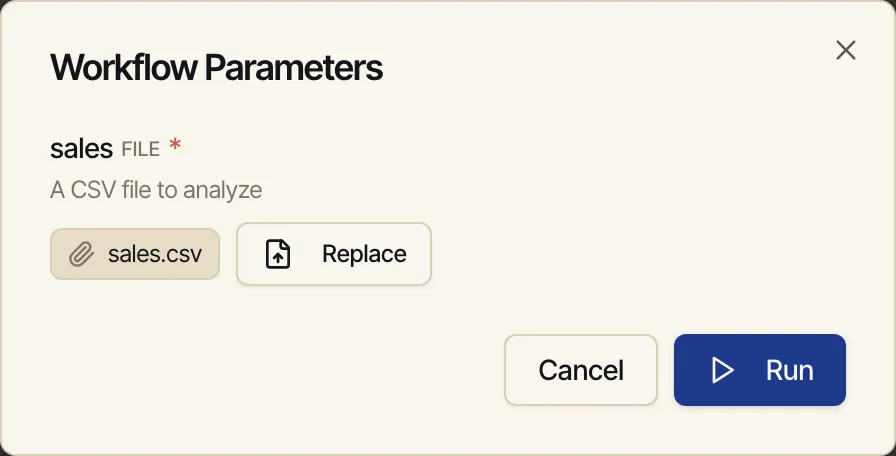
-
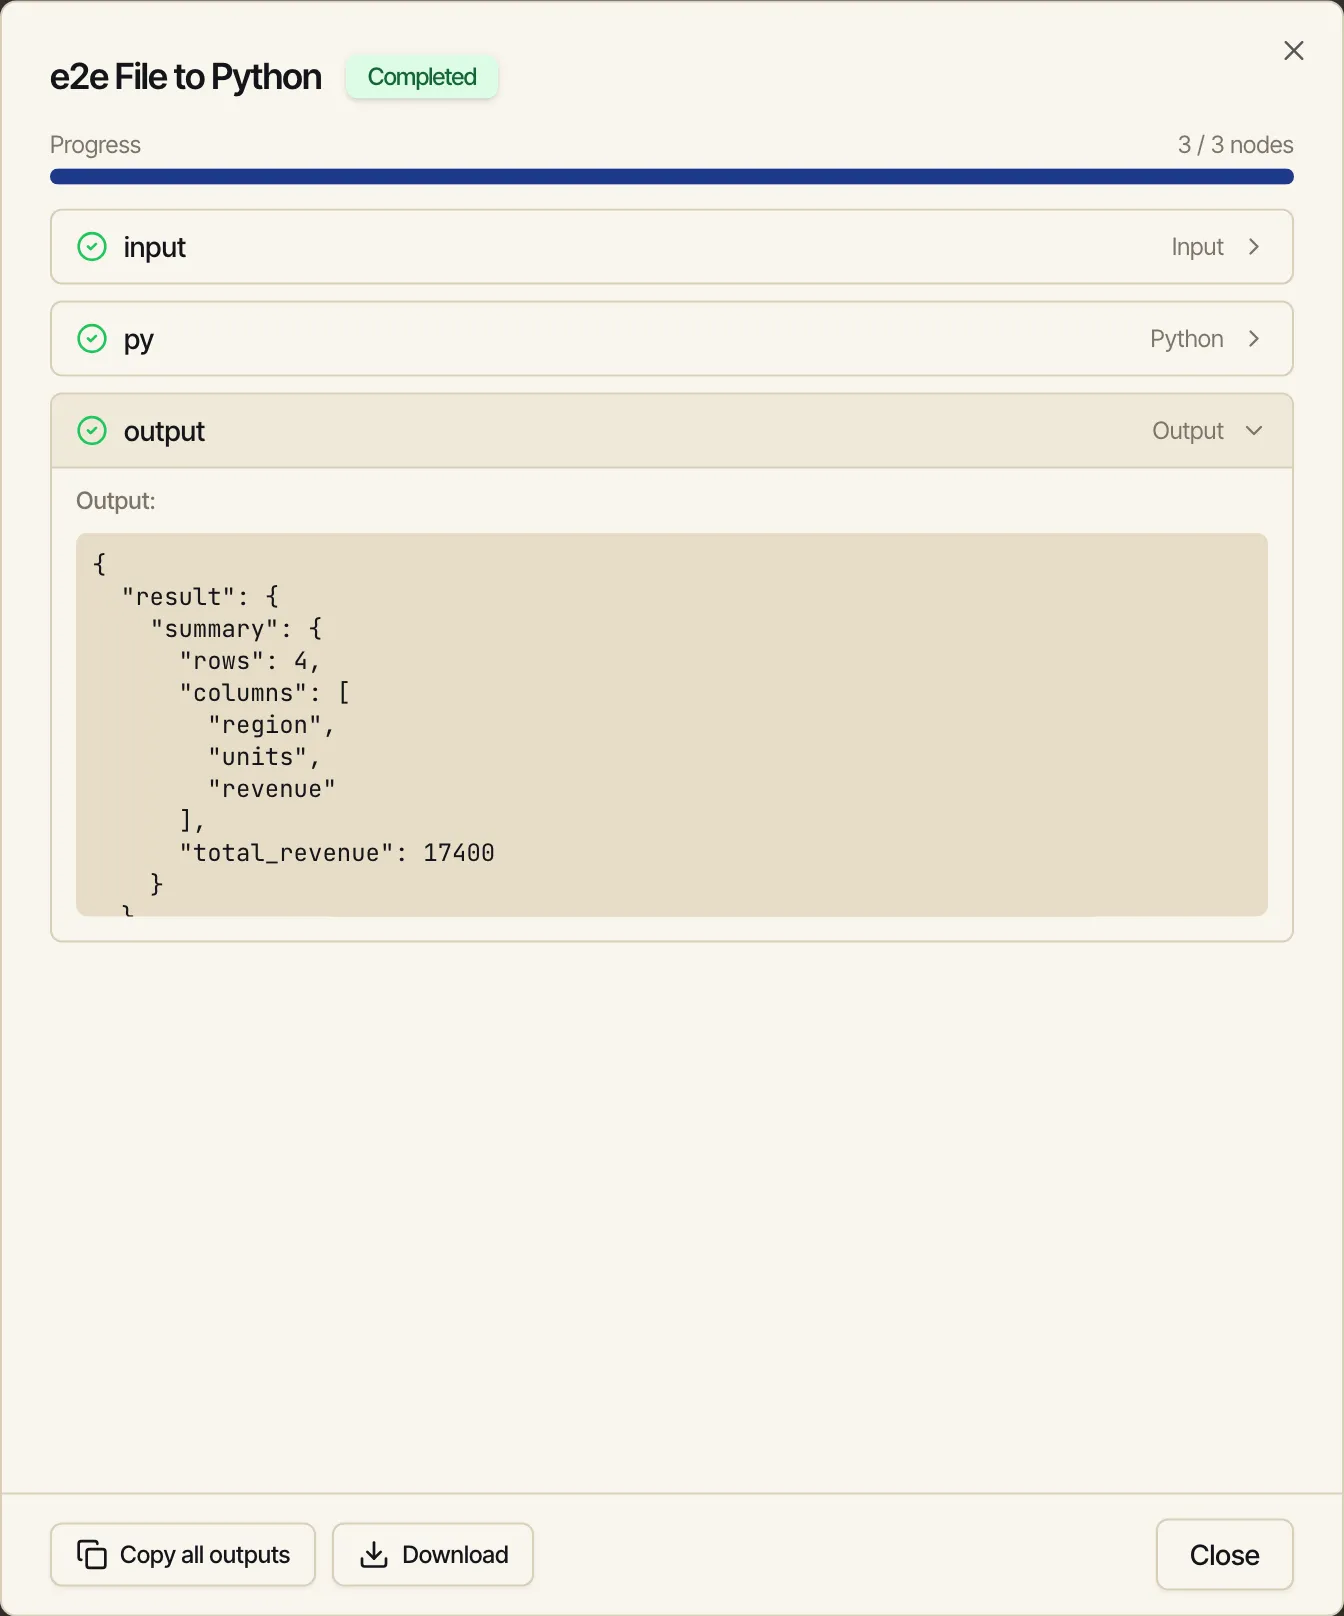
Click Run. Catalyst stages the file at
./inputs/sales.csv(it kept the upload’s.csvextension, which the glob resolves), the Python node reads it with pandas, and the output node returns the summary — here, four rows overregion,units,revenuewith a total revenue of17400.